.
 PHOT 150 | Introduction to Photography examines the nature of photography and visual literacy through the personal exploration and making of photographic images with various image-making devices, including the use of Adobe Photoshop as well as introduction to an analog (film) darkroom and a photographic studio setting. The primary focus of the course will be to engage in photographic practice as a means to respond subjectively as well as objectively to the conceptual and aesthetic experiences of the photographic image as a visual document of creative expression and communication. Historical and contemporary photographic works from the contexts of the family album, art photography, commercial / advertising photography, photography and media, and cyberspace will be examined and critically discussed to further cultivate and refine each students’ visual literacy of the photographic image in society and culture. Any type of lens-based, image-making device including smart phones, digital point-and-shoot cameras, and digital SLR’s can be used. Satisfies Grossmont GE - Area C requirements.
.
.
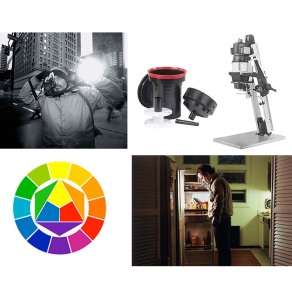
PHOT 151 | Personal Photographic Vision examines the foundations of photographic seeing, thought and analysis, and the uses of analog (film) and digital photographic materials and processes, including black and white film, digital grayscale and color (film and digital). Primary focus of the course is the development of a personal photographic vision through the use of photography’s aesthetic attributes and a refined sense of technical execution and craft. Discussion and practice with small and medium format (film) cameras, image exposure methods, basic artificial lighting techniques, image optimization and use of the dynamic tonal range with film processing and digital imaging techniques, and photographic printing practices in both darkroom and digital environments. The Photography Program provides a 35mm film camera for student use during the semester.
.
.
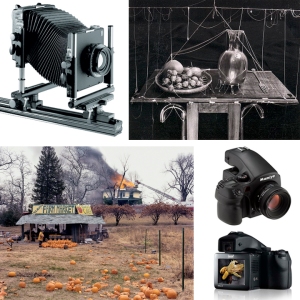 PHOT 152 | Contemporary Photographic Practice explores various advanced analog (film) and digital photographic imaging systems, including medium- and large-format cameras, emerging technologies, and artificial lighting techniques in providing a foundation within the medium. Conceptual, aesthetic and technical principles, theories and strategies will be examined, including the application of one’s photographic vision with medium- and large-format cameras, digital capture and/or emerging technology systems, appropriate image exposure, image-processing with Adobe Lightroom and Photoshop, and printing applications, as well as artificial lighting techniques on location and in the studio. Prerequisite: “C” or “Pass” grade or higher in PHOT 150 or 151.
.
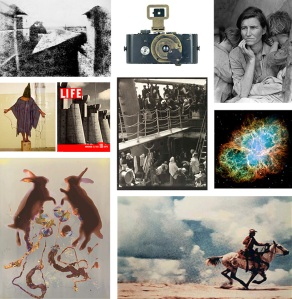 PHOT 154 | History of Photography examines the role and function of photography and its cultural history, including its relationship to art, science, social sciences, travel, fashion, and mass media. Topics of discussion will focus on the important cultural, aesthetic and technical considerations in photography within the historical and contemporary contexts of works by photographers from the United States, Latin America, Europe, Africa, the Middle East and Asia. Such topics will include Looking At and Understanding Photographs, The Origins and Development of Photography, A New Aesthetic – 19th Century Photography, Photography and Modernity, Lens Culture and Mass Media as well as The Globalization of Photography in the Digital Age. Satisfies GE - Area C and Area 3 (IGETC) requirements.
.
.
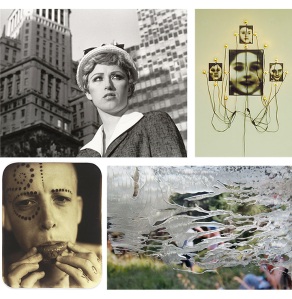 PHOT 166 | Image and Idea is an in-depth exploration of photographic imaging with an emphasis on relating the current technologies to traditional and historical processes while directing the students’ energies toward a balance of image and idea. Students will develop a language specific for the communication of meaning within their photographs, pushing the medium beyond its pictorial qualities and engaging it into the service of ideas. Lens- and time-based concepts will examine present day realities, the function of memory, our cultural history, and the new visceral nature of the medium through contemporary methods, technical strategies, and alternative approaches. Prerequisite: “C” or “Pass” grade or higher in PHOT 150 or PHOT 151.
.
.
PHOT 252 | Photographer’s Portfolio examines the practice and process of personal vision, aesthetic sensibility and refinement of technical skills. As one’s personal practice of photography continues to become more engaged and begins to evolve with a greater sense of maturity, it becomes necessary for the photographer to further develop insight into who they are as a photographer and their working process. Skillful control of modern technological options and clear understanding of historical and contemporary issues within the medium will be applied with a high degree of critical analysis in the production and interpretation of the student’s photographs. A final portfolio, including a print, portfolio book and/or website, will be produced describing the depth and scope of the student’s interest, craft ability and vision. Prerequisite: “C” or “Pass” grade or higher in PHOT 152.
.
.
© Paul Turounet | Email: [email protected] | 2020.
Works created by others is credited, copyright protected and presented for academic scholarship and educational purposes only.

Comments Off on